 My little girl has her first loose tooth, and since we made her big brother a monster tooth pillow, she was really excited for one of her own. This time we chose to do one a little bit more suited to a princess. Her room is pink and black, so I wanted to match it.
 Materials I used:
Pink main background fabric, Coordinating accent fabric, Black silhouette fabric, Black thread, Stuffing, Iron-on fabric adhesive (would have used adhesive interfacing, but they didn't have any where I live).
Other things I needed:
Shears, Rotary Cutter and Board, Sewing machine, Seam Ripper ;), Pins, Pattern for Tooth and Dress Silhouettes.


I drew a picture of a dress and a tooth in paint first and printed them off for the silhouettes. They are a little bit poor quality because I did them in paint, but you just cut the edges smooth, so it doesn't really matter. Feel free to use them if you want to do something similar!


 2 10x12 background pieces, one 11x12 accent piece, 1 dress out of black and 1 out of the adhesive, 1 tooth out of black 1 out of adhesive and 1 out of pink.
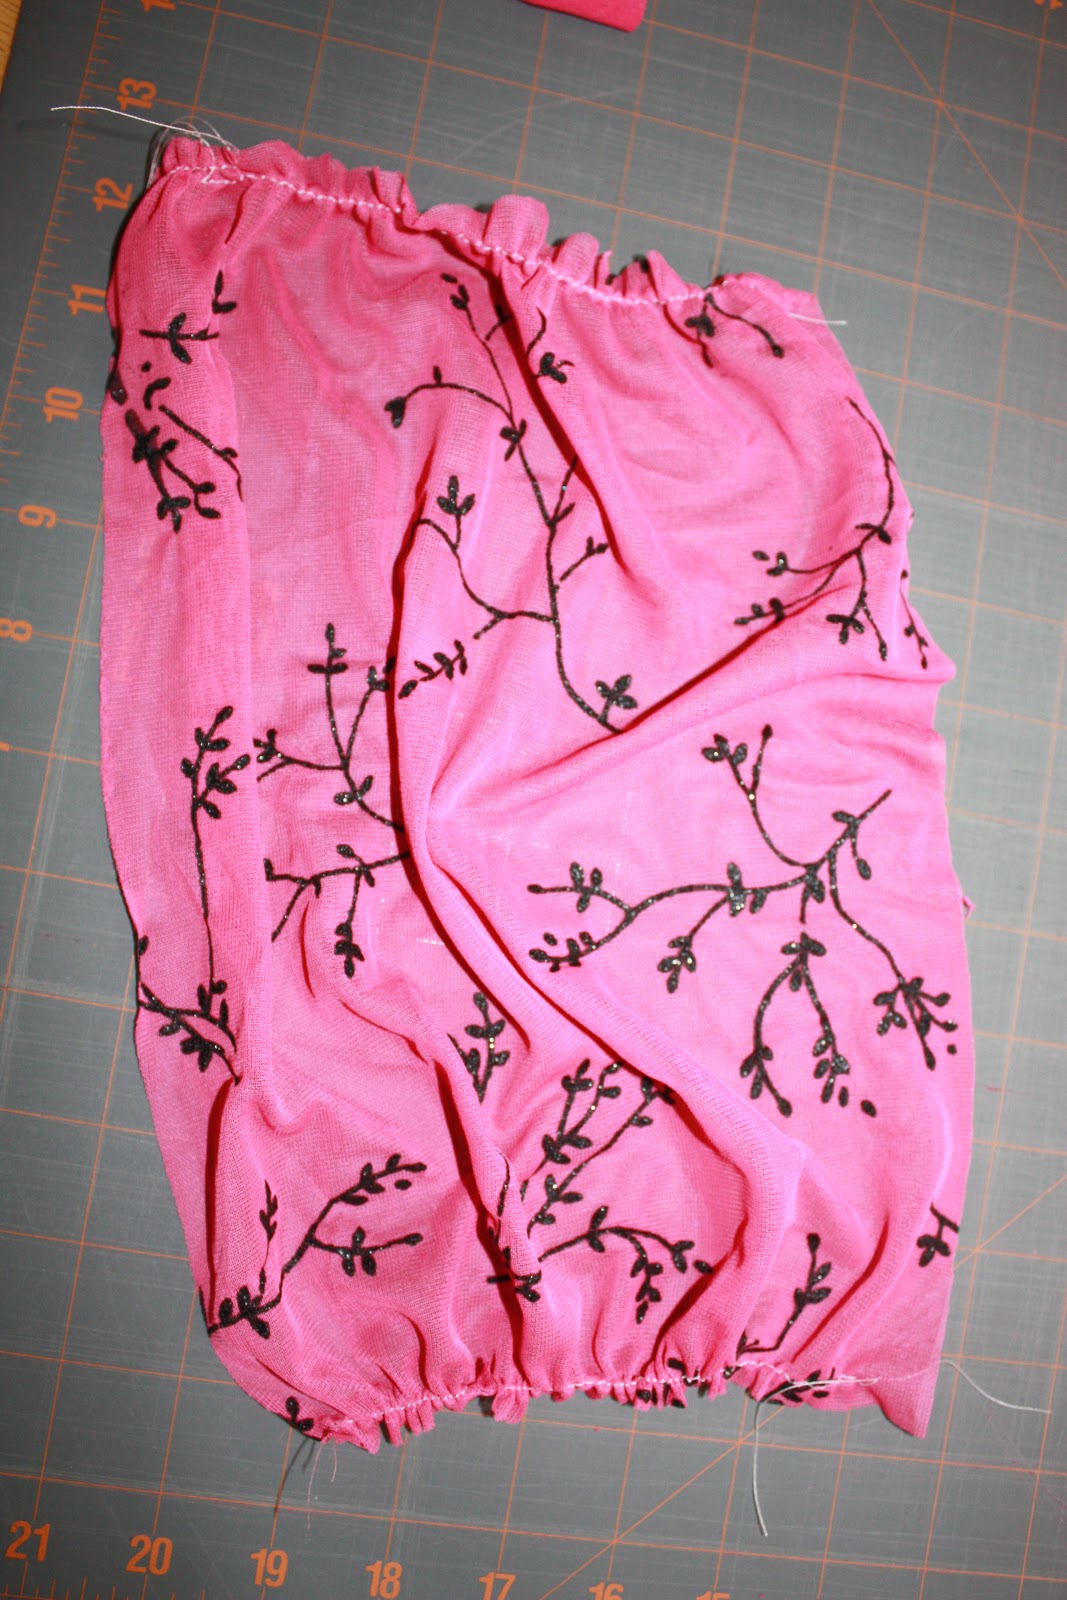
I used a zigzag stitch across the 12" sides of the accent piece to make it gather. This worked fine because it's a knit. Then I attached the accent to the background. The accent fabric is an inch taller than the background so that when I gathered it in the middle it wouldn't distort the whole pillow. I took care of the excess in a later step.


The tooth is the pocket, so I couldn't adhere it directly to the pillow. So, for stability, I stuck it to a piece of the pink fabric before I attached it to the back of the pillow. I also sewed the top edge of the tooth to make it look the same as the rest of the finished tooth.


With right sides together, I sewed the front and back pieces of the pillow together, leaving an opening on the side for turning and stuffing. This is where I got rid of the extra bulk from the accent piece. I just pulled the middle of it tight as I sewed along those edges. This is also where I used the seam ripper because I forgot to do it the first time. I turned the pillow right side out and pushed out the corners with my fingertips.


Then I stuffed and shaped the pillow and hand-sewed the opening shut.
FINISHED!!!

And the back:

I was really trying to make it go with other decorations I made a while ago. What do you think?


One of these days I will paint her room too, then I think the look will be complete.
